Alternate title: Great lessons in espresso from Prof. Thanet.
Abstract: I spent a good part of the afternoon at my espresso teacher and good friend - Khun Thanet’s home, and learnt a great deal about roasting, grinding, and making excellent coffee.
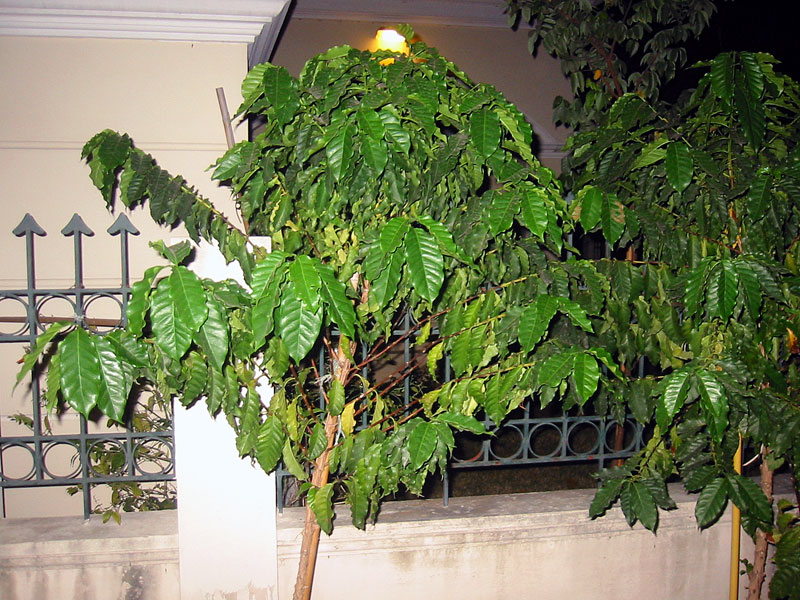
The coffee tree outside his house tells us he is somewhat serious about his coffee…
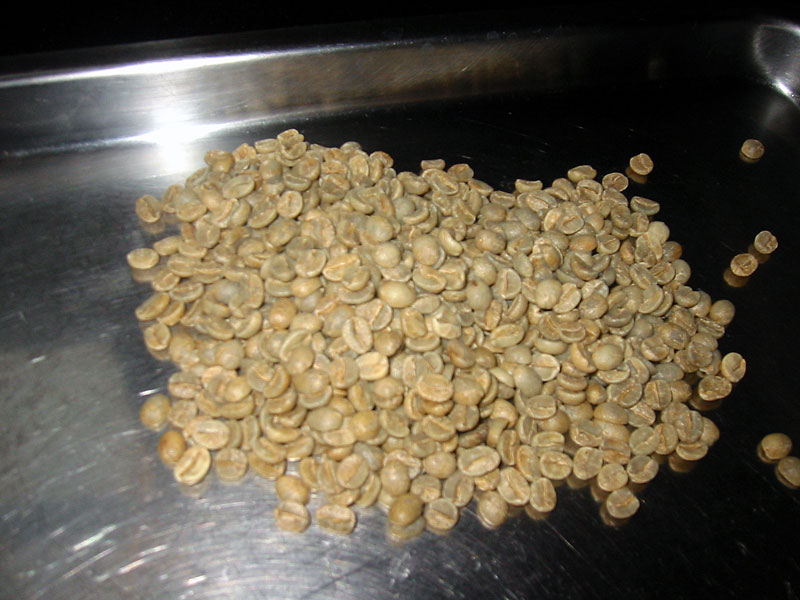
We begin with fresh green beans. The beans have a greenish, grassy smell, quite unlike coffee. The beans are dry, and nutty to the touch. The beans are very high quality Arabica beans from the Doi Tung estate in Chiang Rai, Thailand.
The name of the place Thanet gets his coffee is, in full, Doi Tung Development Project of the Mae Fah Luang Foundation. It is a royal initiative project of Her Royal Highness the Princess Mother. About ten or fifteen years ago the Princess Mother built a private residence on a hill in Chiangrai that was clear cut and the surrounding hill tribes people had been living in very poor condition. She then turned the dry hill into rich verdant forest with plantation of coffee, macadamia nuts, strawberries, and flowers. Now it is one of the top attractions of Chiangrai. The hill tribes people are hired to work in the plantations and trained to weave cloth, make carpets and pottery. Their standard of living improved dramatically and they do not have to earn their living by growing poppies.
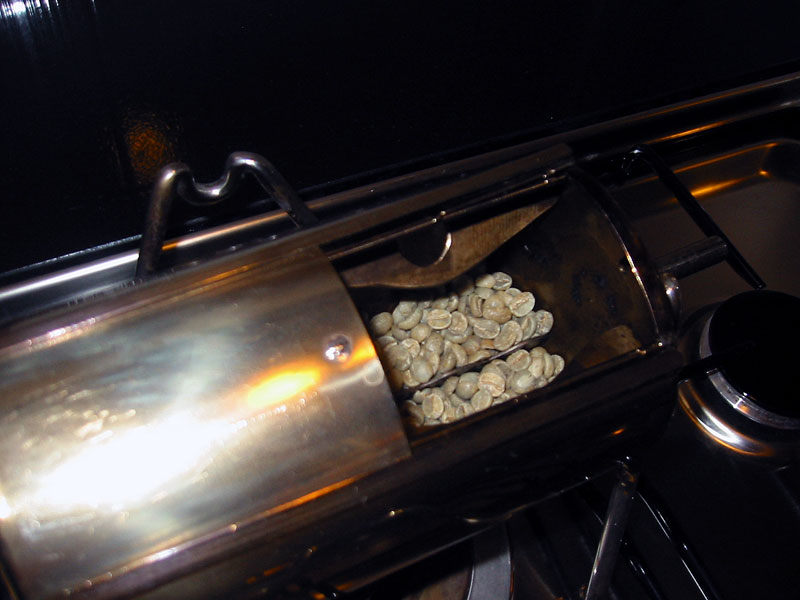
Into the specially designed home roaster it goes!
This home roaster is made of stainless steel, designed by Prof. Thanet from books and literature of traditional designs. I still use the very same roaster. Thanet, however, has gone to a 5kg batch roaster, which is gas fired, and rotated by an electric motor.
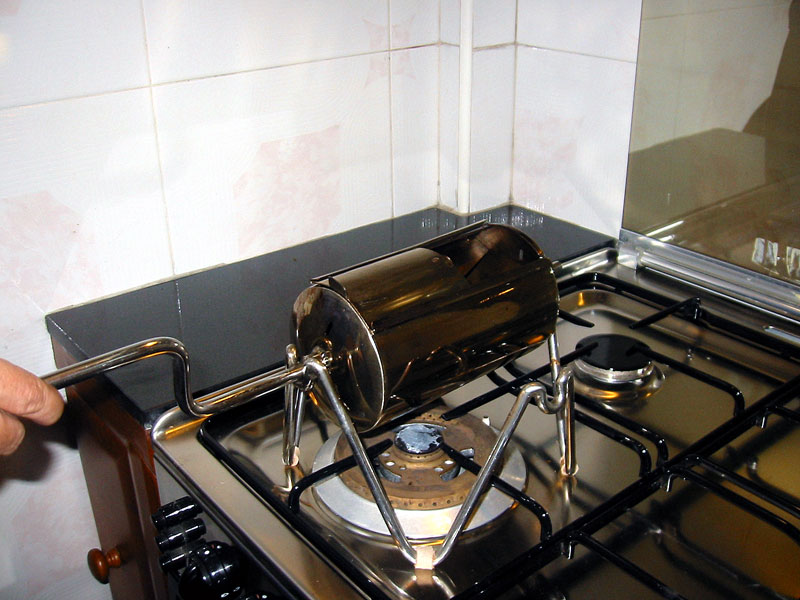
The simple roaster comprises of a cylinder, attached to a handle. The insides contains fins, which agitate the beans as the cylinder is rotated. In the picture below, the hatch is opened to fill the cylinder with beans. It sits on a very craftily designed set of legs, and goes over a gas stove. Very well built.
Special roasting instructions by Prof. Thanet in conjunction with me. I started roasting in 2002, and Prof Thanet in 1993.
1) Sort through the beans to discard black or deformed beans, impurities, stones, etc. Stones can wreck your grinder.
Gentlemen, start your engines…let the roasting begin.
2) Put the green beans into the roaster. Do not use more than the third of the volume of the roaster. In this roaster, this should be no more than 250 grams. This is because the roasted beans is larger in volume than green beans, and you want to have enough space to keep rolling the beans inside the roaster.
3) Put the roaster on top of the stove. Use medium heat. What is medium? Use the heat level that will finish the roast within the 12-14 minutes range. For example, if it takes too long, turn up the heat the next roast. A larger amount of coffee beans also prolong the roast. So if you use a lot of beans you have to compensate the heat (higher) so that the roast is still done in 12-14 minutes.
4) Make sure that you keep the turning the handle at around one round per 2 seconds. Never take the roaster away from the fire before the roast is done, otherwise the roasted coffee will be bitter and have off flavor. Wait for the first crack that should come at around 9-10 minutes. The chaff will start coming out and change the color from tan to dark brown when the roast is almost done. Then the crackling sound will die down a bit, and the second crack will start with fervor. You have to estimate the roast from the intensity of the smoke coming out of the roaster. I stop when the smoke just starts coming out like the jet of steam from the spout of a kettle when the water is boiling. Of course, you can use a spoon to knock the door of the roaster to see the color. But do it quickly and keep the roaster on the stove all the time. Look for the color just a bit lighter than what you want. After you stop roasting the color will be a bit darker. The aroma will help you know when it is done as well. The color of the smoke, if you observe closely, will change from white to white with a yellow tint. Don't worry if you burn the first batch. We all do. You will get the hang of it in after a few times and then the roasting will be as simple as boiling water.
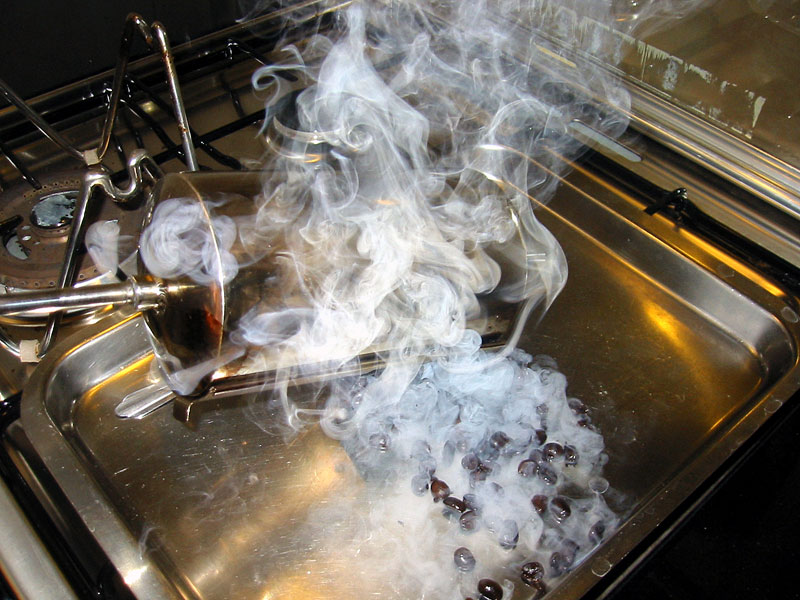
The roasting process takes all of 12 minutes, during which the beans grow some 50% in size, and undergoes what industry insiders call two cracks. The first cracking, referring to the sound the beans make as they split open under the heat…not unlike the cracking of corn to make pop-corn. At this point, chaff begins to be blown out of the ventilation openings. As we continued to the second crack, smoke pours out of the ventilation openings in the roaster. And we turned out the heat, and pour the beans onto a tray to cool.
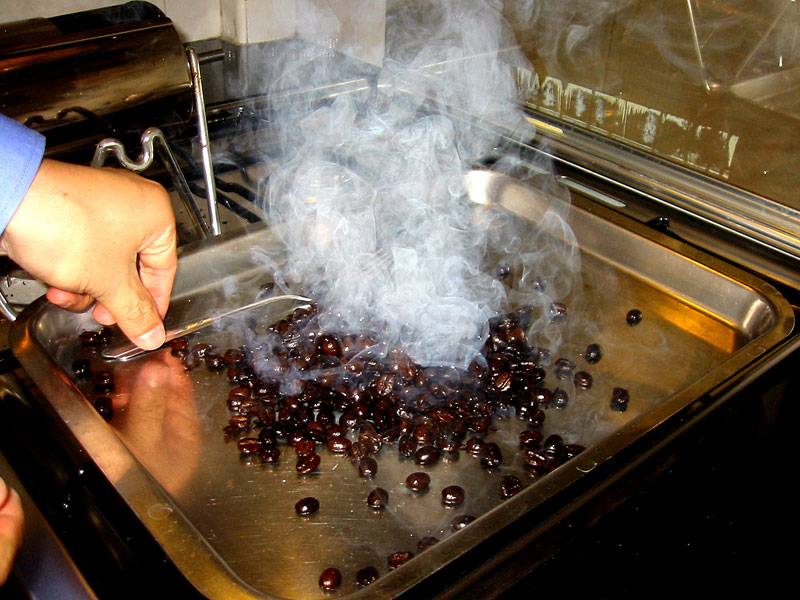
5) Once the roasting is done, the next problem is how to cool the beans as fast as possible to stop the roasting. Some people use water spray. I never try that. I just put the beans on a metal tray and pour water around the outside of the tray. You can use it to make coffee after it cools down, but I think it is better to wait at least a few hours.
6) After roasting, rinse the roaster with tap water. You do not have to use soap. Just be careful that the roaster is extremely hot.
The roasting process causes incredible complex chemical reactions to the beans, not completely understood…but after the roasting, the beans are transformed. Note the oily complexion of the beans. The beans continue to cool, and give off generous amounts of gas.
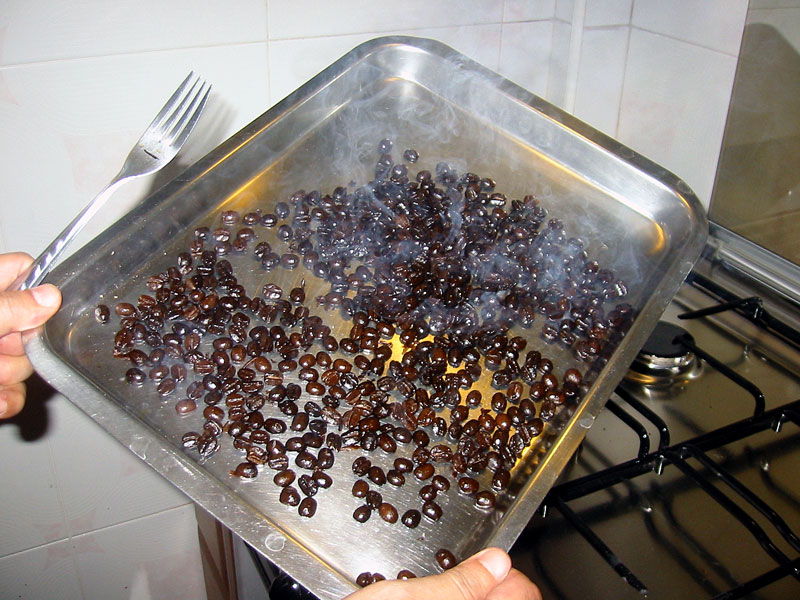
After some cooling, the wonderful aroma begins to fill the room. The picture below shows the final product…beans roasted to a dark brown complexion, suitable for espresso.
The color of the roasted beans may not be as consistent as what you get from specialty coffee shops. But I think a slight inconsistency of the beans contributes some complexity to the flavor. The quality of the beans and ability to roasted coffee may not be able to compete with the specialty shops, but the freshness more than make up for it.
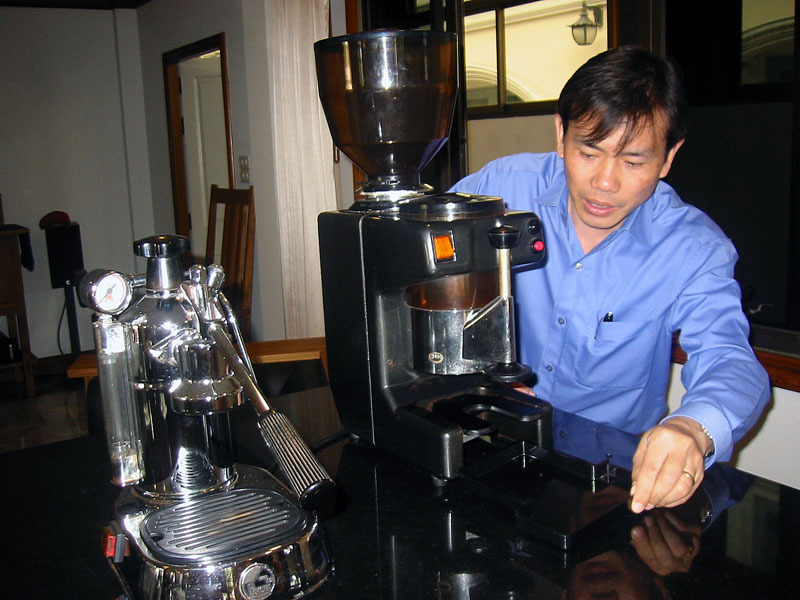
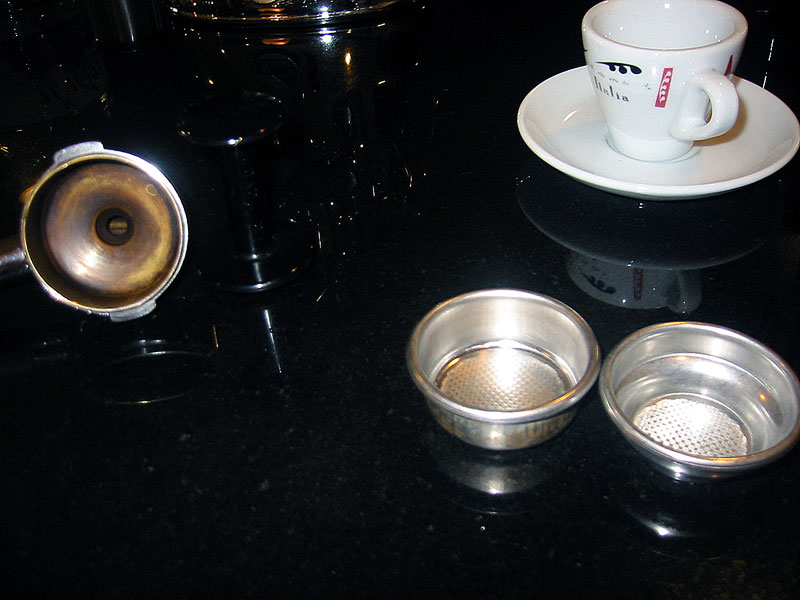
And we are ready to make our first cuppa of the day. First a survey of the apparatus for coffee making…seen below. On your left is the La Pavoni Professional, and on the right is the commercial grade burr grinder, also made by La Pavoni, and far right, is Prof Thanet
The gruppa (group head in Italian) at the left, removed and ready to receive the porta filter. Two porta filters are shown at bottom right…these are the two small cups which will contain the coffee powder for brewing. Note also the thick walled, demi-tasse cup at top right. It is important for the cup to be pre-heated, and thick walled to retain the heat…otherwise the crema will disappear quickly.
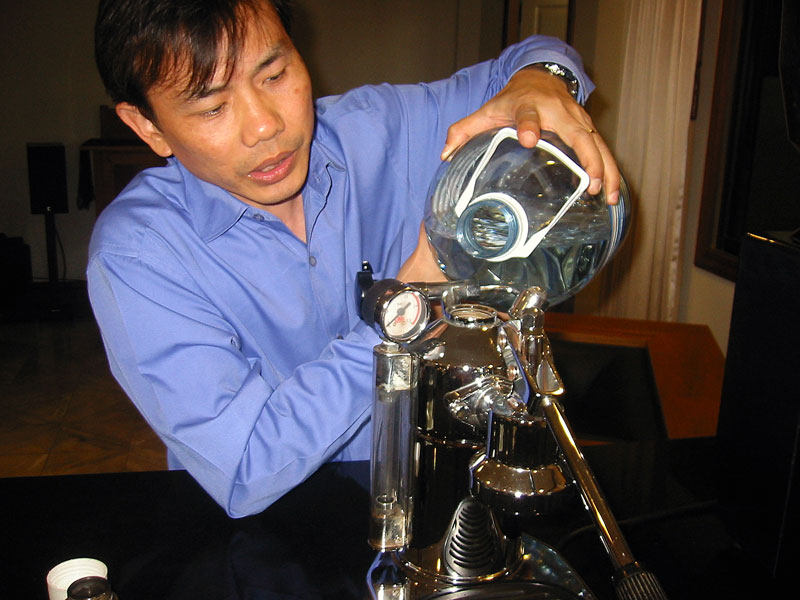
First, we fill the machine with bottled water. Tap water will work, as long as it is not too heavily chlorinated, as this will kill the taste and affect the crema of the coffee. Most experts say distilled water tastes flat.
The machine heats the water to 120C, under some 1.2 bars of pressure. Before making the first cup, we pull the first blank shot to warm up the gruppa and warm the cup. Note towel on Khun Thanet’s left hand…the portafilter is empty, and sometimes the hot water can rush out when the lever is lowered. Also, future cups can be warmed by having a small amount of water in a cup, and heating it with the steam wand.
Machine suitably warmed…at this point, the La Pavoni’s pressure gauge shows 1.2 bars of pressure. We begin to grind our freshly roasted beans. The burr grinder does its job silently, and beautifully. Note that a blade grinder used for blending foods in the kitchen is not up to the task of grinding the beans. The blade is too rough to the fragile beans, tearing and crushing them, instead of minutely shaving the beans. The grinder is even more important than the coffee machine…so one needs to take great care at purchasing one.
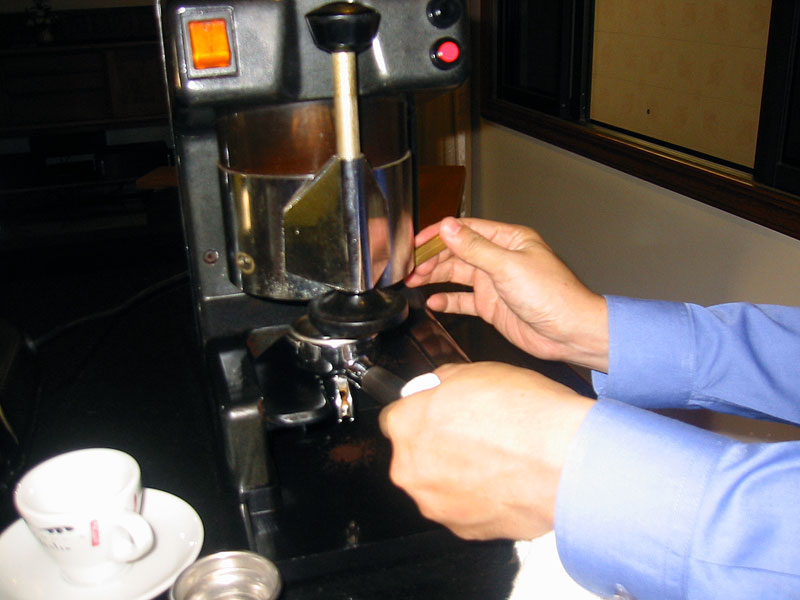
Dose sufficient to make a small mountain on the gruppa. Note the dosage counter on the machine…as this is commercial machine, intended for use in cafes…it allows the owner to count the number of cups made…also useful for maintenance purposes. Also note that the built-in tamper (black object partially blocking Khun Thanet’s right hand…is much larger than the gruppa of the coffee machine…it is designed for the larger gruppas of the commercial machines.
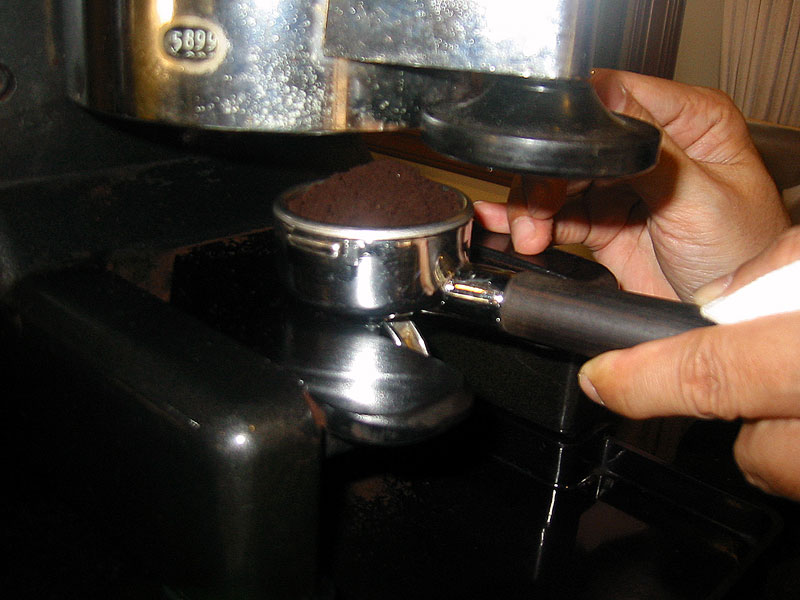
Then, the great tamping debate…Khun Thanet recommends just soft tamping, and polishing the grounds as shown below. Tamp only to ensure the grind is evenly packed, the top is level. But some other experts recommend 35 pounds of pressure in tamping. We tried a harder tamp later in the afternoon, and I found the resulting coffee so tightly packed, that it was too difficult to pull…I estimated I must have exerted some 60 pounds of pressure on the La Pavoni lever to pull a shot.
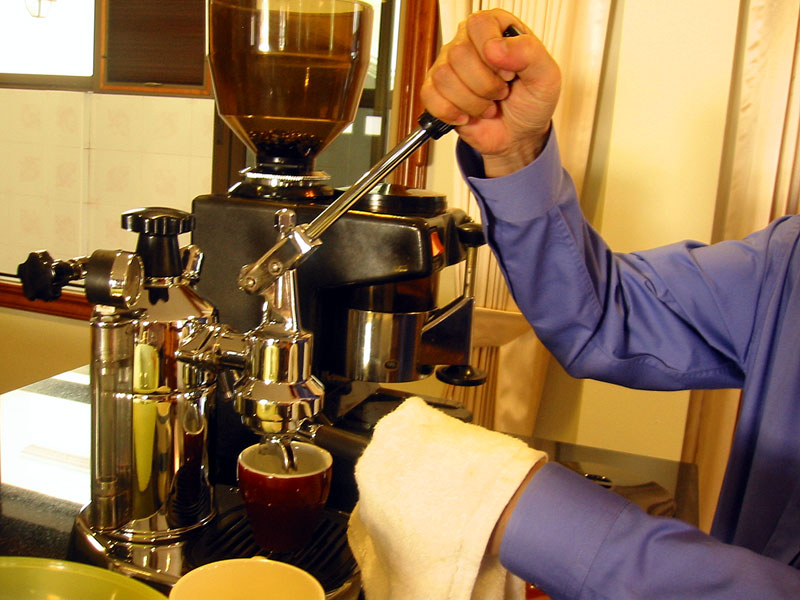
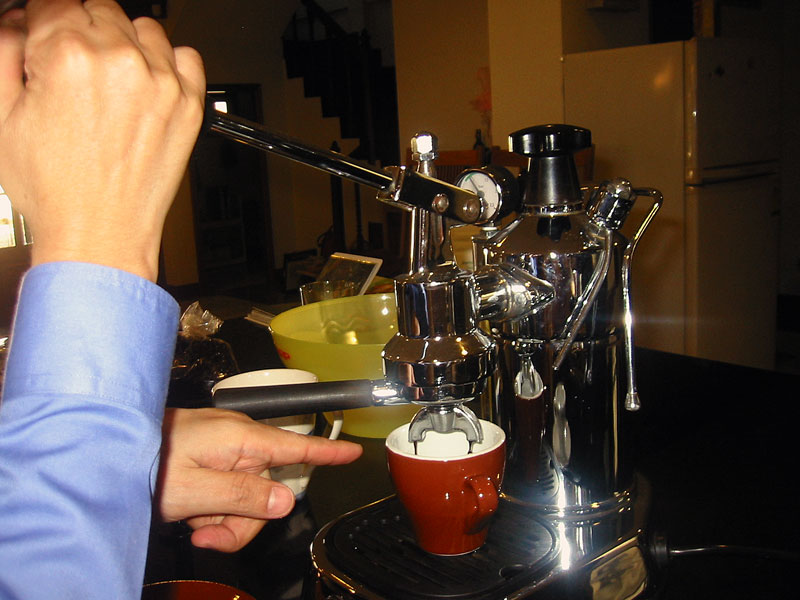
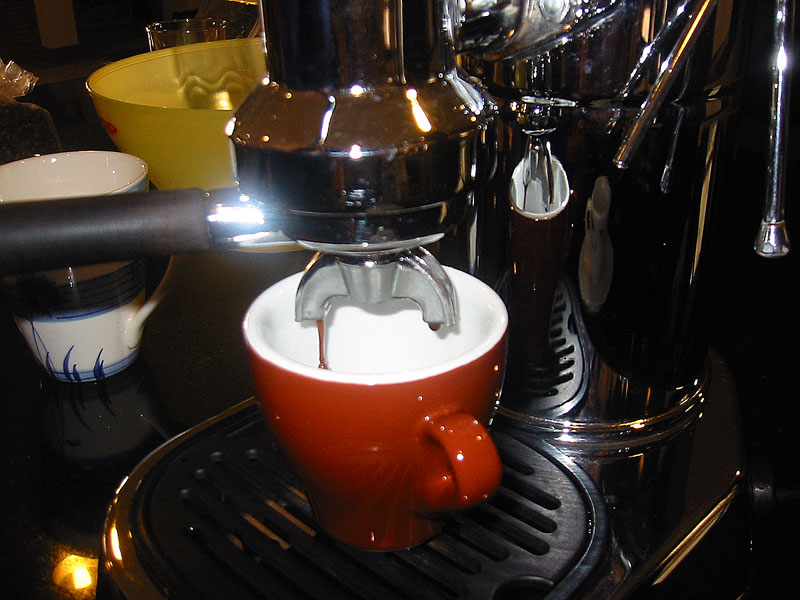
Into the La Pavoni it goes, and raise the lever. At the top of the travel, we hear the sound of water rushing into the gruppa, and we count 10 seconds to allow the water to pre-infuse the beans. At 10s, we lower the lever. Some 30 pounds of pressure is required to lower the lever, to create the 9 bar of water pressure required to extract fine espresso.
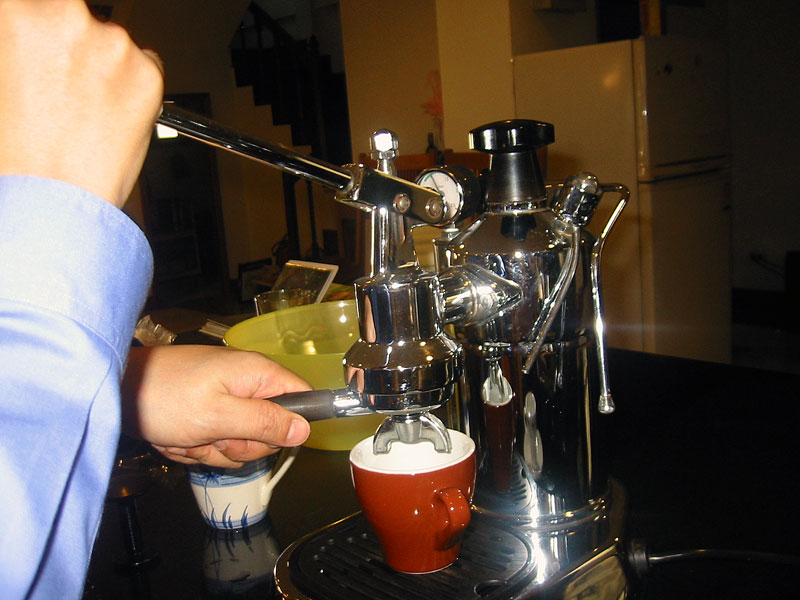
As we pull the lever down, a piston within the machine forces the hot water through the beans and out comes coffee! The coffee must take exactly 25 seconds to extract…longer, and we will have weak, over-extracted drivel. Too short, and we have under-extracted espresso…lacking in good crema and aroma.
Ah…perfect cup. Beautiful crema, wonderful aroma. Very syrupy, well balanced taste.
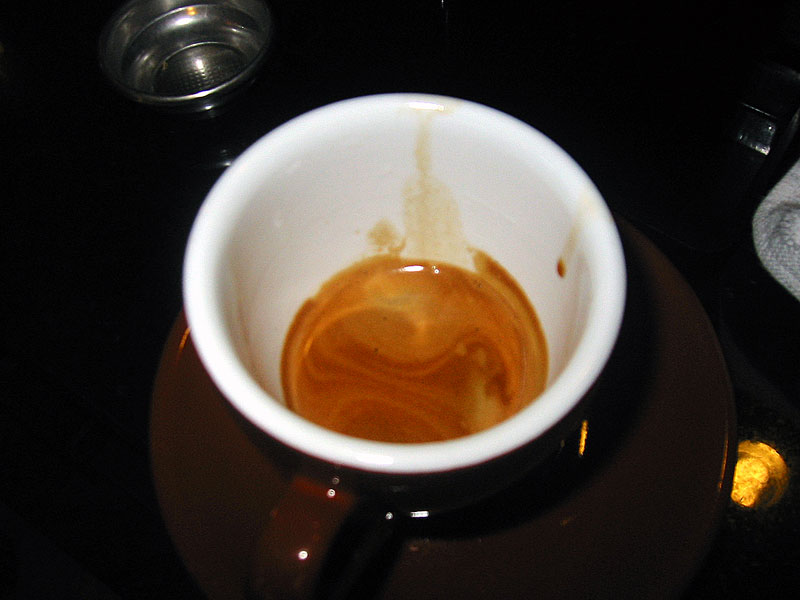
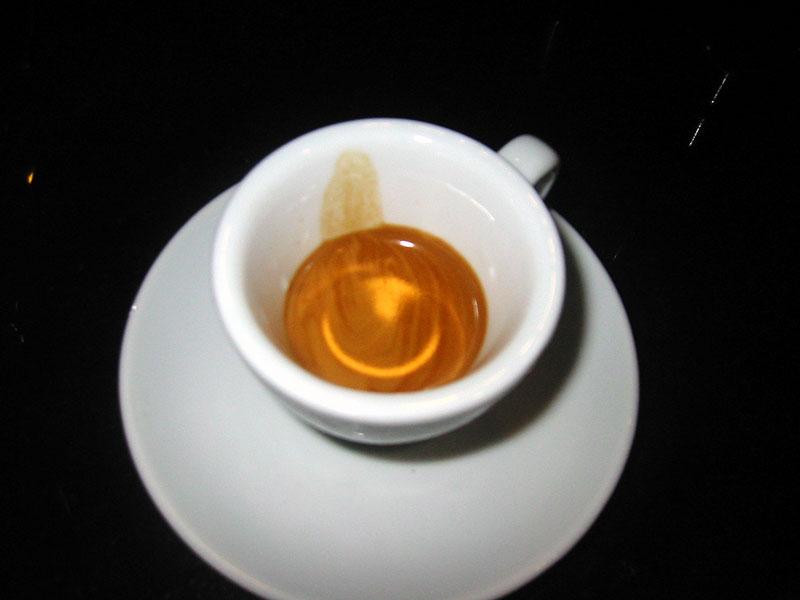
One great cup deserves another. I pulled this cup shown below. Note the crema is composed of tiny micro-bubbles, with a rich, foamy texture. The color of the crema is a rich brown. A teaspoon of sugar can sit nicely floating in the crema for more than 10 seconds. Nearly perfect!
Note the ring halfmoon of white is from the flash, reflected from the white walls of the cup, and not white crema, indicative of over-extracted coffee.
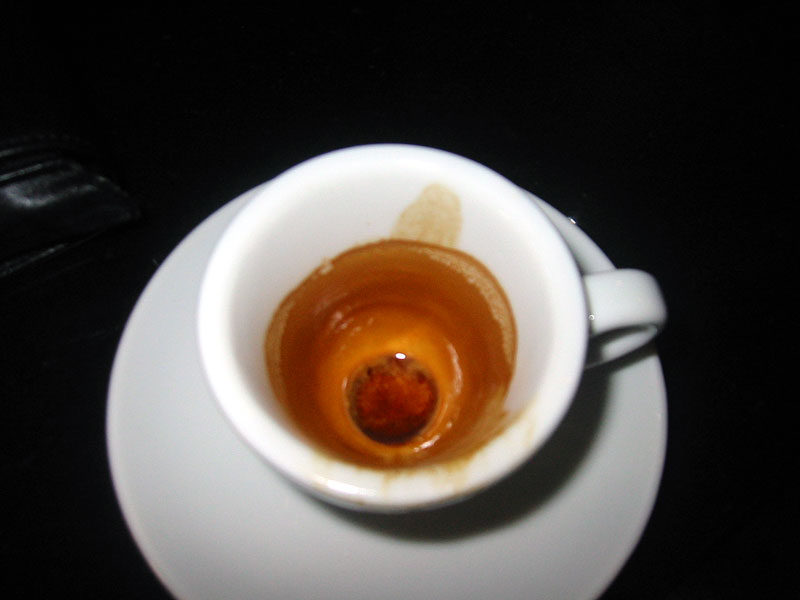
And I drank it! Note the crema still persists, sticking to the sides of the cup.
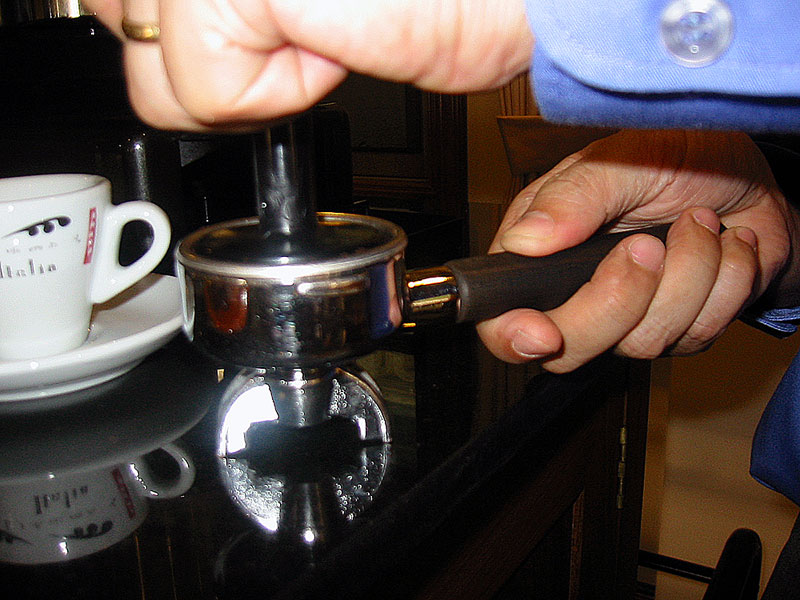
After enjoying the coffee, and allowing the machine to cool down, we removed the gruppa slowly, first allowing the steam and pressure to release. And then knocking out the spent coffee, which has been compressed into a hard puck:
Krap khun kraap.
©Copyright, Peter Chong…Bangkok, Feb 5, 2003.
My own setup is the same as Prof Thanet's for roasting. But I use a Mazzer Mini for grinding and an Electra Micro Casa A Leva, also a lever machine, but one which uses a spring loaded lever.